
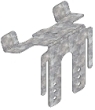
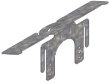
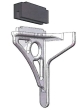
This item is used on transom bars,jack rafter bars and starter bars only. Use CHA011 for splayed bars.
Installation guide, page 12
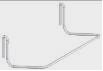
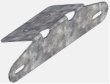
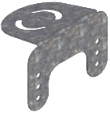
These are used to provide hanging support for the internal polycarb. they are positioned over the eaves fascia trim around the bar when possible.
Installation guide, page 14
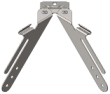
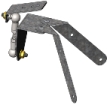
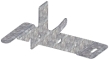
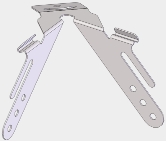
These are used to secure the internal poly to the VIC Hip bars and are adjustable to allow for differing pitches.
Installation guide, page 16
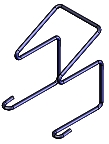
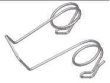
These are used to provide hanging support for the internal polycarb around standard bolster.
Installation guide, page 14

These come in two halves and are used as a decorative feature around the tie bar conduit against the skimmed plasterwork.
Installation guide, page 19
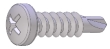
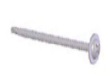
M4 x 13 SELF DRILLING SCREW

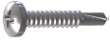
4 x 19 SELF DRILLING SCREW
4.8 x 32 SELF DRILLING SCREW
These are used when i bolster has been supplied on a standard transom and are positioned above the bolster brackets (CHA013)
Installation guide, page 21
This is used when a bolster is used on a hip bar. it is positioned above the small bolster corner frame and attached to the bolster at the back.
Installation guide, page 27
Used in the same way as the standard transom version but these are for SPLAYED BARS ONLY
Installation guide, page 13
These are positioned the same as the transom and splayed brackets but only when a Bolster is used.
Installation guide, page 23
Used on a bolstered bar only. these are positioned on the sides of the bars and help hold the poly and the trims.
Installation guide, page 21
These clips are used in the same way as the standard eaves clips but are used in conjunction with structural eaves beam only.
Installation guide, page 15

Comments to follow...
Comments to follow...
Comments to follow...
These are used to secure the internal poly to the GEO Hip bars and are adjustable to allow for differing pitches.
Installation guide, page 16
20x20mm
This is used in conjunction with the eaves trickle vents. this is pushed in the slots of the ETV that is spec'd with the roof. If the roof is a retro fit, drill 5 x 10mm holes over a 250mm distance and fill with foam.
Installation guide, page 11
These are to be used when you have a below fascia livin room. these are placed on top of the gallows brackets and allow the livin room to run under the BG.
Installation guide, page 9
RAW
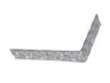
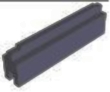
This is positioned inside the top cavity closing trim. this seals of the cavity and stops drafts and insect ingress.
Installation guide, page 15
PAINTED GREY
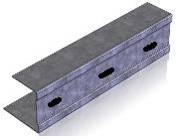
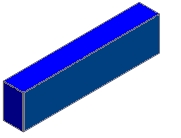
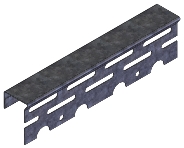
This is used as the outer perimeter of the vertical and horizontal frame and allows the fitter to fire screws through the holes and into the attached framework.
Installation guide, page 17
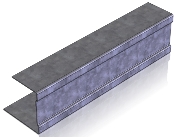
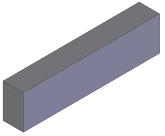
This is used as the outer perimeter uprights/outrights of the vertical and horizontal frame
Installation guide, page 17
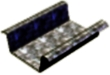
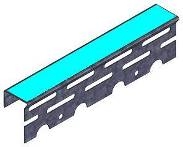
These are positioned in the middle of the frame work and due to the width, allows the plaster board to be fixed to it using the supplied screws.
Installation guide, page 17
PAINTED
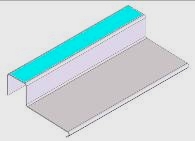
These are placed/slid between the glazing bar brackets and block off the gap between the external glazing and the internal glazing panel.
Installation guide, page 15
Packer
Installation guide, page 9